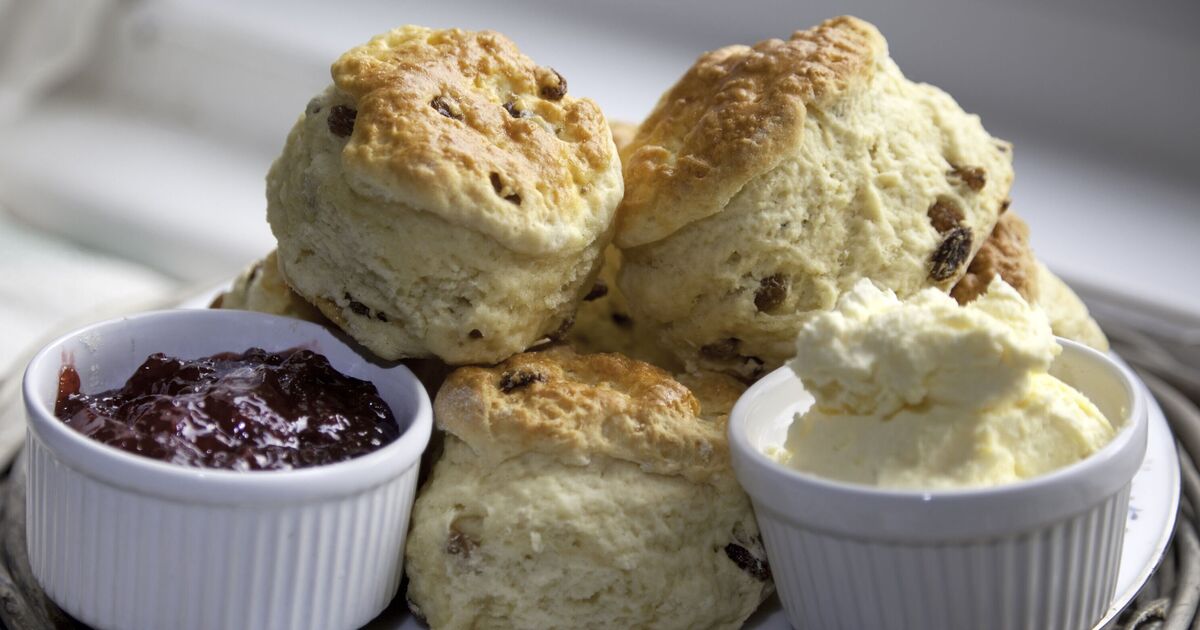
No matter how full you are after a meal, there’s always room to squeeze in a bit of of dessert and let’s face it, few things taste better than scones loaded with jam and cream.
It’s the kind of sweet indulgence that is worth breaking a diet for and the good news is, scones are so easy to make at home so you don’t have to pay through the nose at a fancy cafe to enjoy one. While baking can be quite daunting if you aren’t that familiar with it, scones are actually a really easy recipe to start with. You only need a few ingredients and these can all be mixed together in one bowl, so it’s very straightforward to make the dought.
But baking experts say there are two very important steps to follow before your scones hit the oven to make sure they have an even rise and a light, airy texture every single time.
The first is to make sure your butter is frozen before adding it to your mixture, as this prevents it from melting before your scones go into the oven.
Experts recommend grating frozen butter into the flour and as this melts, it releases steam and creates those desired air pockets for an airy, fluffy texture, and it also contributes to a richer flavour.
Sally’s Baking explains: “Keeping scone dough as cold as possible prevents over-spreading. When scones over-spread in the oven, they lose the flaky, moist, and deliciously crumbly texture. In other words, they’re ruined. But the easiest way to avoid disaster is to use cold ingredients like cold heavy cream, egg, and butter. But frozen grated butter is the real key to success.
“Like with pie crust, work the cold butter into the dry ingredients to create crumbs. The butter/flour crumbs melt as the scones bake, releasing steam and creating air pockets. These pockets create a flaky center while keeping the edges crumbly and crisp.
“Refrigerated butter might melt in the dough as you work with it, but frozen butter will hold out until the oven. And the finer the pieces of cold butter, the less the scones spread and the quicker the butter mixes into the dry ingredients.”
The second important step to ensure a tall, even rise in the oven is to avoid twisting your cutter as you cut out your scones. If you twist your cutter this can seal the edges of the dough and prevent it from expanding, which can then result in an uneven bake, whereas an even cut allows the dough to rise and expand freely, giving you bigger and taller scones.
Home Bake Academy says: “When cutting out your scones with a round cutter, dip the cutter in flour each time before pressing it into the dough. This helps prevent sticking and gives you cleaner edges.
“Make sure you press the cutter straight down and lift it straight up, don’t twist it. Twisting the cutter seals the edges of the dough, which can stop the scones from rising evenly. For tall, even scones, it’s all about that clean cut.”

